![]()
![]()
|
|
|
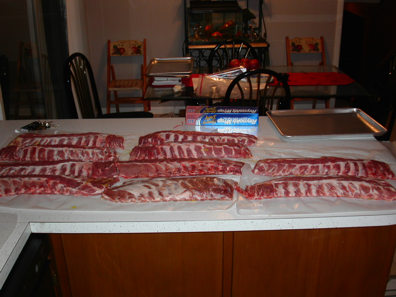
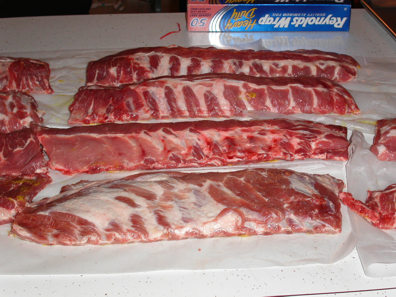
BBQ Ribs Below are steps I followed to Q nine racks of ribs (8 baby backs and 1 St. Louis). In addition to the ribs, we had corn on the cob (wrapped in foil), Beer Can chicken (first ever), and grilled chicken breasts. Preparation of Ribs I was planning on purchasing all St. Louis's but I decided to spare (pun intended) the expense and purchase baby backs. I have mostly Q'd St. Louis most of my life and was pretty excited that I was going to smoke my first rack of BB's. I am using thumbnails here because some pictures may take a while to load. If you want to see the larger picture, just click on the thumbnails and should open them up in another page. I next removed the membrane from the back of the ribs. Some individuals prefer to leave the membrane on and remove it after the ribs are done but I like to remove it first. Just personal preference.
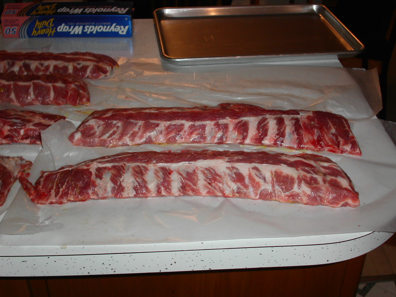
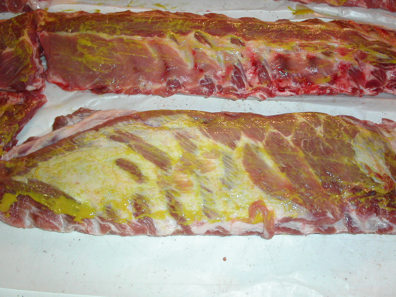
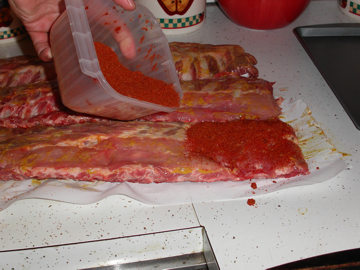
Slather each with plain yellow mustard. I just use it because it helps keep the dry rub on the meat. Also, you will may notice that the front rack is a little different. This is because, I want at least one St. Louis Rack of ribs. I have to say I like both but if I can afford it, I would choose baby backs.
Coat the ribs with the dry rub on both sides, press it into the meat and place in a 2 gallon Zip Lock bag for an overnight delight in the fridge. The picture below is from the My BBQ Ribs page but I did the same thing.
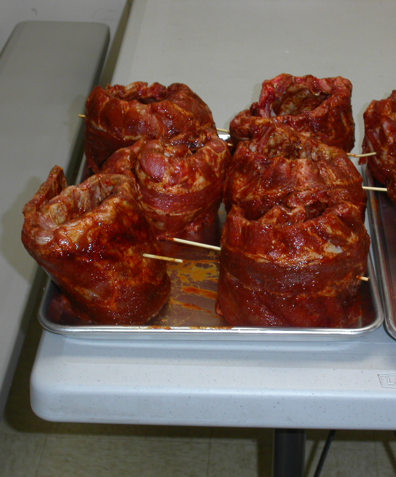
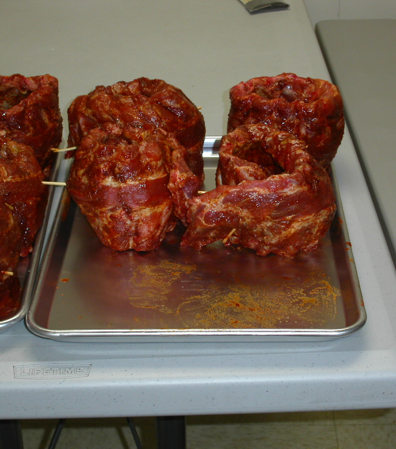
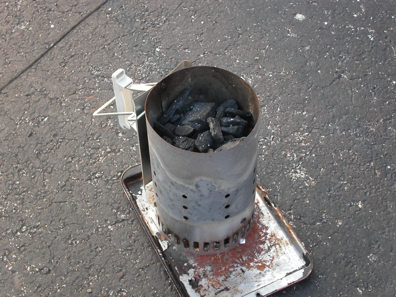
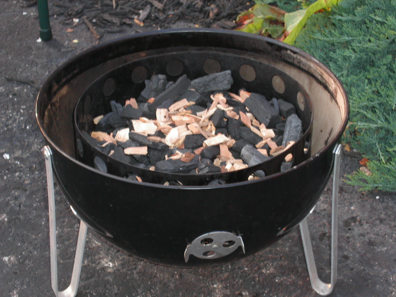
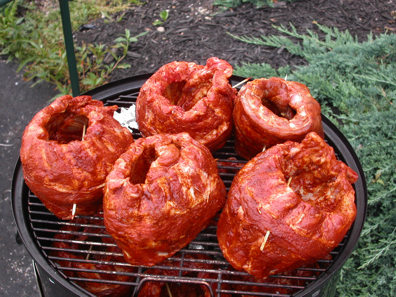
I took the ribs out of the fridge around 5:00 a.m. and took them to work. I left them out on the table so they could warm up a few degrees before cooking at 7:30. I knew the only way to fit 10 racks of ribs on WSM, I needed to roll them. I use a chimney starter to light my fire. All you need is two sheets of newspaper underneath, light and wait about 15 minutes. By then the coals are brigh red and ready to go. While I was waiting, I filled the cooking chamber with about 8lbs of Lump charcoal and spread around some Apple wood chips for smoke.
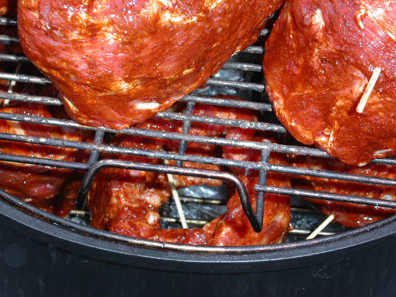
Here I assembled the smoker and put in my Taylor thermos.. From here I will let the ribs cook between 200 and 230 degrees for about 4 to 5 hours. I will baste around 2 hours in and then a couple more times near the end of the cooking session. Here the ribs are placed in the smoker. I put five on the top and five on the bottom.
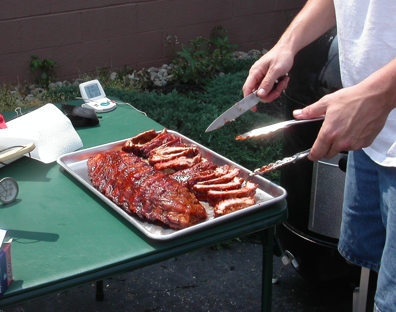
Because it is hotter on the top rack as compared to the middle rack, I decided to swap the ribs after 2 1/2 hours so they would cook evenly. What I like to do 5 minutes prior to opening the top, I opened up the dampers to get the temp up to around 260 or so. When I put the lid back on the temp went down to 225 and I restored the original damper setting to keep it around 230 or so. Well, the ribs were done just in time. I pulled them out around 12:15 or so, wrapped a couple in foil to make room on the smoker. With the extra room, I unrolled a few rack, basted with BAM's BBQ Sauce, and let it heat up for about 10 minutes. I cut up a couple racks and foiled the rest.
Well, everyone seemed to loved the ribs (they may have lied because half of them believe in BOILING ribs :-( ), I thought these were some of the best ribs I have ever made.
|